Hey everyone, welcome to Blender Aday! It’s your guide here, ready to dive into a topic that’s a bit different but incredibly important for every 3D artist. We’re going to do an Eco Friendly Blender Review, but maybe not the kind you’re thinking of. Instead of looking at kitchen appliances, we’re going to review an eco-friendly workflow within Blender itself. How can we create stunning, photorealistic product renders without making our GPUs scream and our energy bills skyrocket? Let’s break down a sustainable process for creating a beautiful product visualization from start to finish, proving that high-quality results and efficiency can go hand in hand.
What is an Eco-Friendly 3D Workflow?
So, what do I mean by an “eco-friendly” workflow in Blender? Simply put, it’s about being mindful of our digital resources. Every polygon, every 8K texture, and every render sample demands computational power, which in turn consumes electricity. An eco-friendly workflow focuses on optimization at every stage—modeling, texturing, and rendering—to achieve the desired visual quality with the minimum necessary resources. It’s not about cutting corners; it’s about working smarter, not harder. This approach saves time, reduces wear on your hardware, and yes, even lowers your carbon footprint as an artist.
Why This Eco Friendly Blender Review Matters
Mastering an efficient workflow is a game-changer. For freelancers, faster render times mean quicker turnarounds and the ability to take on more projects. For hobbyists, it means less time waiting and more time creating. In a studio environment, resource management is critical. Think about a render farm with dozens of machines running for hours; even a 10% reduction in render time per frame adds up to massive savings in energy and cost. This eco friendly blender review of our process is about building professional habits that make you a more versatile and valuable artist.
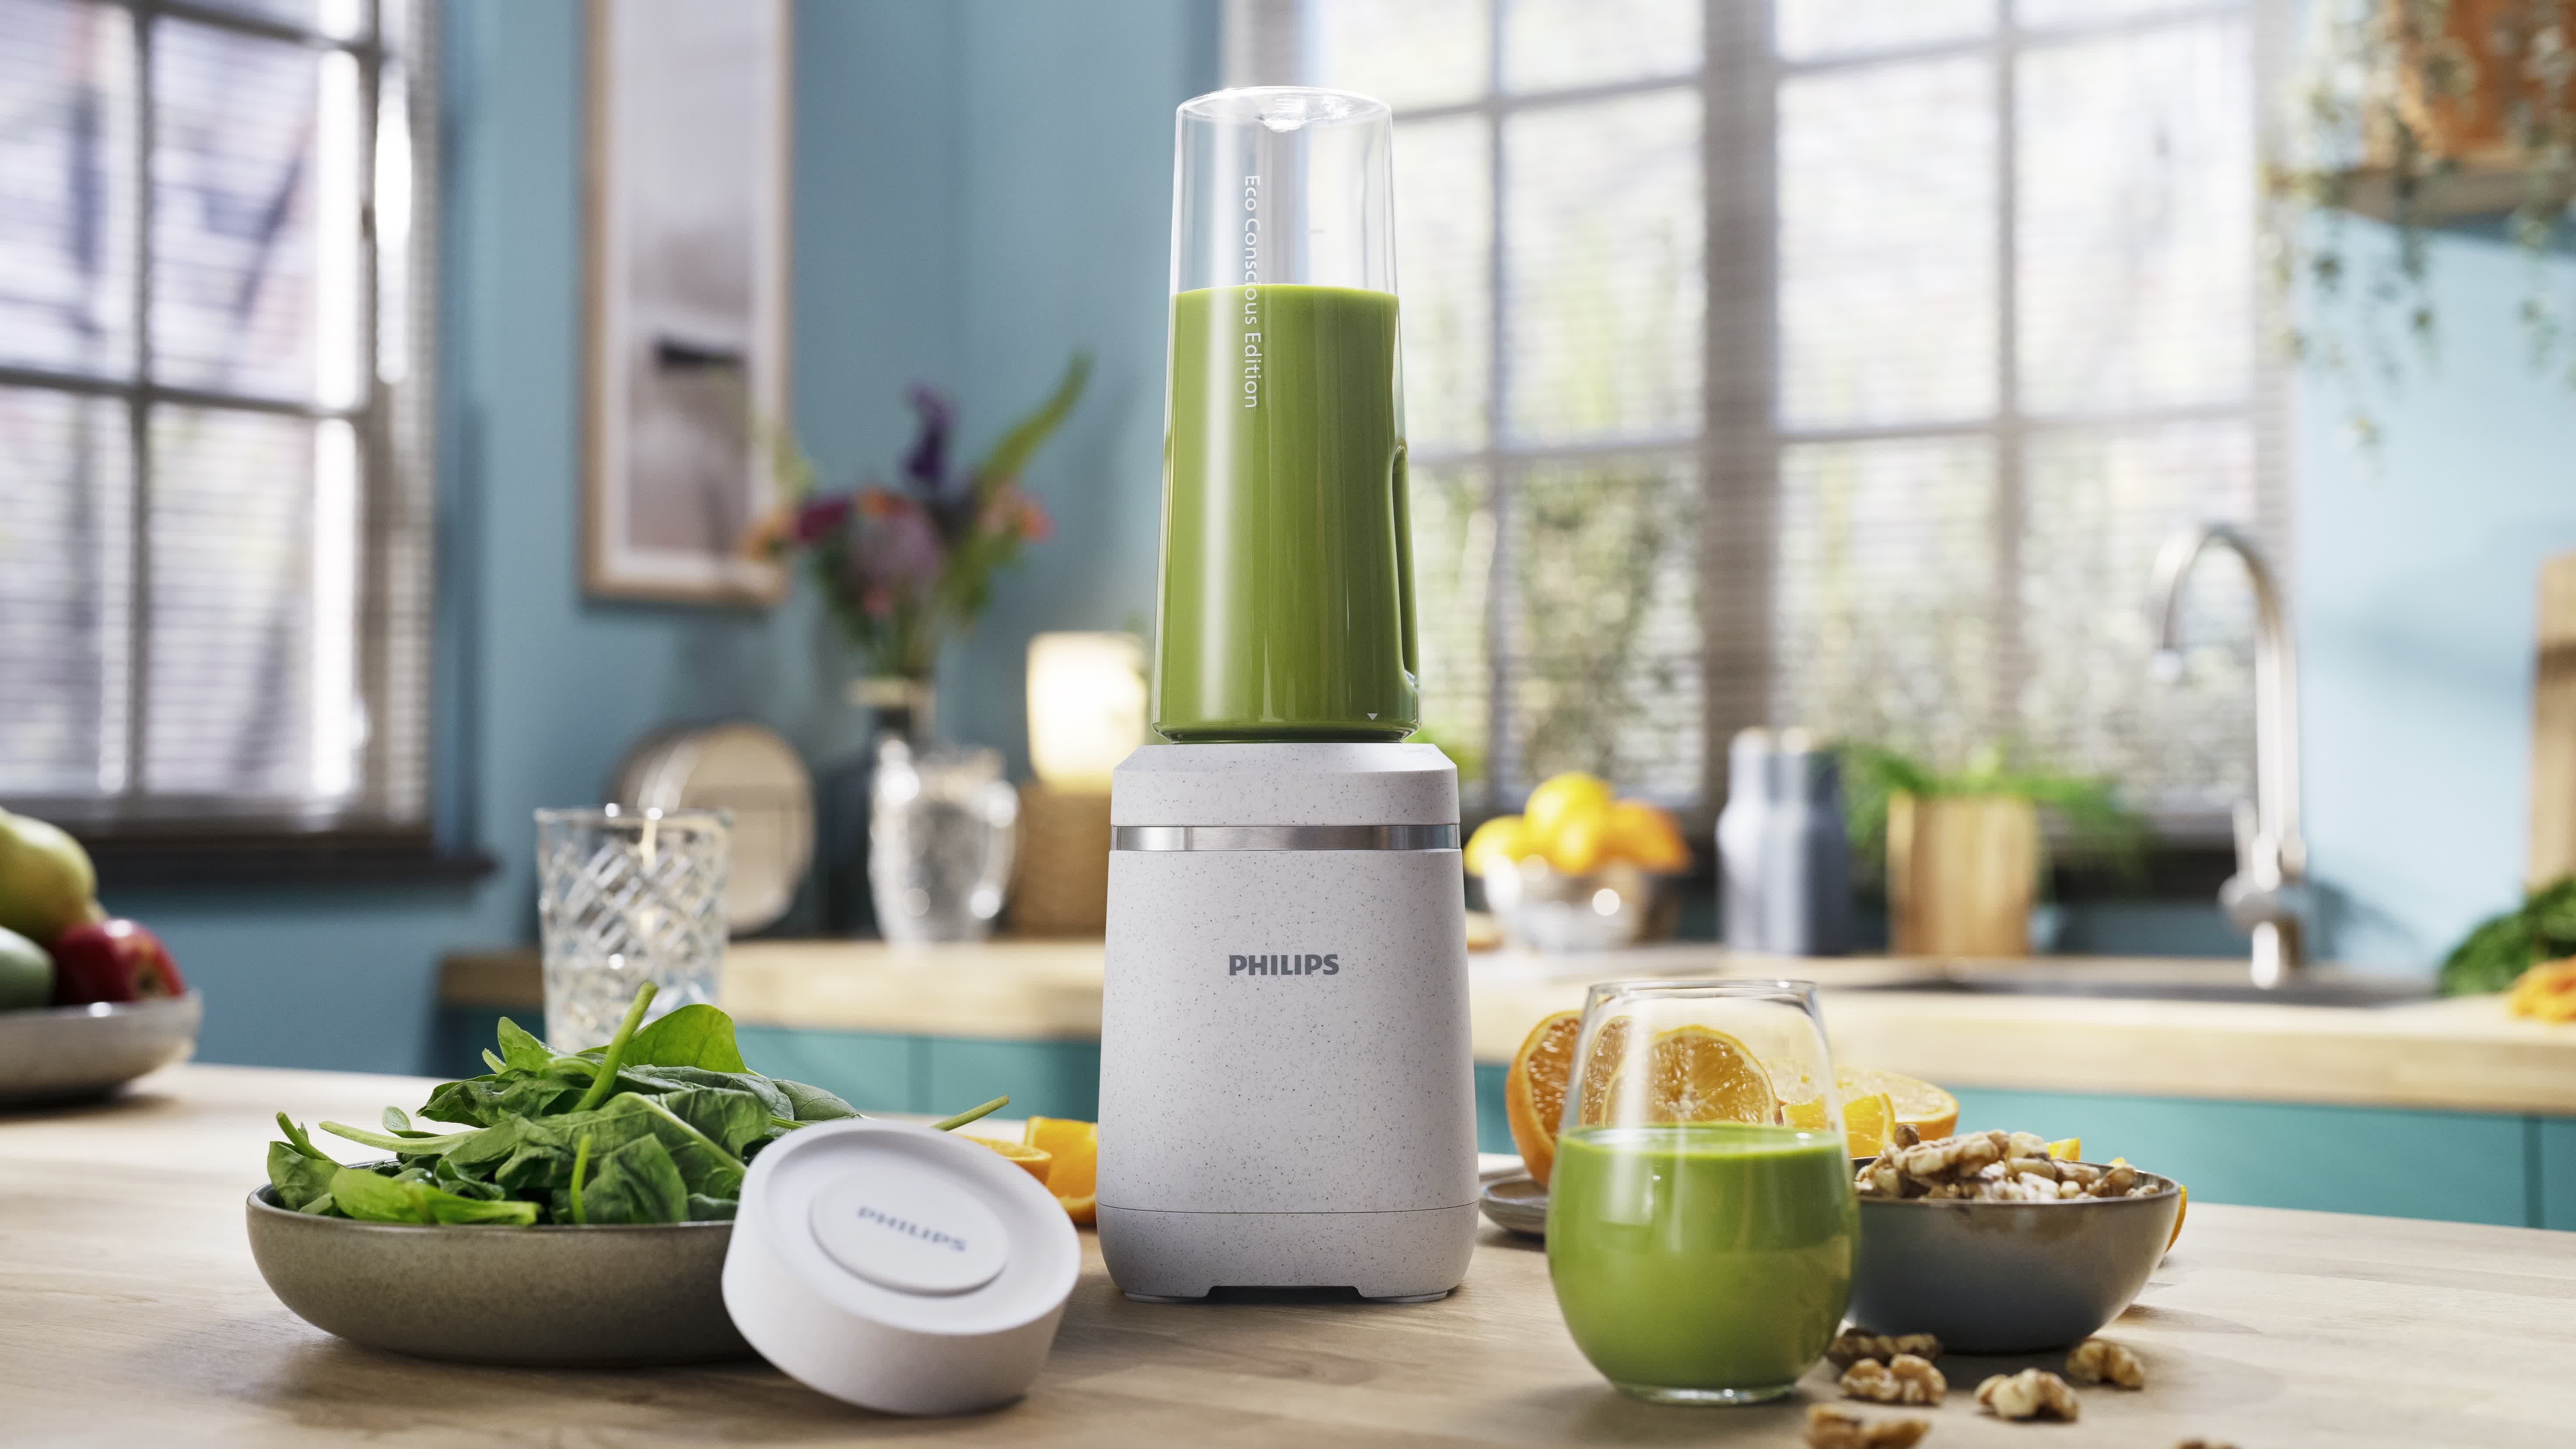
For this guide, we’ll create a photorealistic render of a modern, sleek, “eco-friendly” kitchen blender. It’s a perfect subject to practice hard-surface modeling, procedural materials, and optimized lighting.
Step 1: Efficient Modeling from the Ground Up
The foundation of an efficient scene is a clean, optimized model. A heavy, poorly constructed mesh will slow down your viewport and increase render times unnecessarily.
- Gather Your References: Before you add a single vertex, collect high-quality reference images. Look at the blender from all angles. Pay attention to how the base, the carafe, and the lid connect.
- Start with Primitives: Begin blocking out the main shapes using Blender’s primitives—cylinders for the base and carafe, cubes for buttons. Keep it simple. The goal here is to establish scale and proportion.
- Think in Subdivisions: Model with a Subdivision Surface modifier in mind. This means creating a low-polygon base mesh with good topology (clean, quad-based geometry) that will smooth out perfectly when the modifier is applied. Avoid adding dense geometry where it isn’t needed. For example, a flat bottom surface doesn’t need many loops.
- Use Modifiers Non-Destructively: Keep your modifiers like Subdivision Surface, Solidify, and Bevel active for as long as possible. This non-destructive workflow allows you to make changes to your low-poly cage easily, and Blender only has to calculate the final dense mesh at render time.
Pro Tip: Use the Bevel modifier with the ‘Angle’ limit method to automatically add sharp, detail-catching edges to your model without manually adding support loops. It’s a huge time-saver and keeps your base geometry clean.
Step 2: Smart Texturing with Procedural Nodes
High-resolution image textures are one of the biggest memory hogs in any 3D scene. A single 4K texture set can eat up hundreds of megabytes of VRAM. The sustainable alternative? Procedural materials.
Instead of unwrapping every single piece and painting textures, we can generate materials directly in the Shader Editor using Blender’s powerful node system.
- Brushed Metal Base: For the blender’s base, you can create a convincing brushed metal effect. Start with a Principled BSDF node. Turn the
Metallicslider all the way up to 1.0. To create the brush marks, feed a Noise Texture into a ColorRamp to create tight black and white streaks. Stretch this texture along one axis using a Mapping node and plug the result into theNormalinput via a Bump node. This gives you the illusion of fine grooves without a single polygon of extra detail. - Frosted Glass Carafe: Create a glass material by setting the
Transmissionon the Principled BSDF to 1.0. To get that frosted look, increase theRoughnessvalue slightly (e.g., 0.1-0.2). For more realism, you can plug a subtle Musgrave Texture into theRoughnessinput to create very slight variations in the surface. - Recycled Plastic: For matte plastic parts, simply use a Principled BSDF with a base color and a higher
Roughnessvalue (e.g., 0.7). To add subtle surface imperfections, mix your main BSDF with a second, slightly darker and rougher BSDF, using a Noise Texture as theFacin a Mix Shader node.
This node-based approach keeps your .blend file incredibly small and uses far less memory during rendering, which is a cornerstone of this eco friendly blender review on workflow.
|
Our Picks for the Best Blender in 2025
As an Amazon Associate, we earn from qualifying purchases.
|
||
| Num | Product | Action |
|---|---|---|
| 1 | KOIOS Smoothie Blender, 900W Personal Blender for Shakes and Smoothies for Kitchen with 2 No-BPA 22oz Portable Cups, Single Serve Smoothies Maker Mixer for Juices, Nutritious Recipe (Grey Blue) |

|
| 2 | BLACK+DECKER PowerCrush Multi-Function Blender with 6-Cup Glass Jar, 4 Speed Settings, Silver |
|
| 3 | Ninja Blender, Compact Kitchen System, 1200W, 3 Functions for Smoothies, Dough & Frozen Drinks with Auto-IQ, 72-oz.* Blender Pitcher, 40-oz. Processor Bowl & 18-oz. Single-Serve Cup, Grey, AMZ493BRN |
|
| 4 | Zulay Kitchen Milk Frother Wand Drink Mixer with AA Duracell Batteries- Durable Handheld Milk Frother Electric Whisk - Easy-Clean Milk Frother Wand & Mini Blender - Electric Coffee Frother - Black |
|
| 5 | Magic Bullet Blender, Small, Silver, 11 Piece Set |
|
| 6 | nutribullet Personal Blender, Shakes, Smoothies, Food Prep, and Frozen Blending, 24 Ounces, 600 Watt, Gray, NBR-0601WM |
|
| 7 | BLACK+DECKER 10-Speed Countertop Blender, BL2010BP, 6-Cup Plastic Jar, Dishwasher-Safe, Stainless Steel, Suction Feet |
|
| 8 | Ninja | Blender | Nutri Pro | Single Serve | For Smoothies, Salsa, Shakes and Frozen Drinks | Includes 2 Smoothie Cups & Lids | Crushes Ice, Fruit & Veggies |Silver | BN401 |
|
| 9 | Ninja Professional Blender 1000W, Total Crushing Technology- Smoothies, Ice Crushing & Frozen Fruit, Full-Size Countertop Blender, 72-oz. Pitcher, Black & Grey, BL610 |
|
| 10 | BlenderBottle Classic V2 Shaker Bottle Perfect for Protein Shakes and Pre Workout, 28-Ounce, Clear/Black |
|
Pro Tips for an Optimized Cycles Render
This is where we see the biggest energy and time savings. A poorly configured render can run for hours, while a well-tuned one can finish in minutes with nearly identical quality. We’ll focus on Cycles for its photorealism.
What Are the Best Render Settings for Speed?
The key is to find the balance between noise and render time. In modern versions of Blender, you don’t need to crank up the sample count to 4000 anymore.
- Enable Denoising: This is non-negotiable for efficiency. In the Render Properties panel, under
Sampling > Render, enable Denoise. The OptiX denoiser is fantastic for NVIDIA GPUs, while OpenImageDenoise is an excellent CPU-based option. - Use the Noise Threshold: Instead of telling Blender to render a fixed number of samples, the Noise Threshold setting tells it to stop rendering a specific area of the image once the level of noise drops below a certain value. A good starting point is
0.01. This is incredibly efficient because simple, well-lit areas will finish rendering very quickly, allowing the engine to focus all its power on complex areas like shadows or glass. - Limit Your Light Bounces: By default, Blender uses a lot of light bounces, which is great for accuracy but slow. For a scene like this, you can often lower them without a noticeable difference. Under
Light Paths > Max Bounces, try settingTotalto something like 6,Diffuseto 2,Glossyto 4, andTransmissionto 5. - Use Caustics Sparingly: Caustics (the bright patterns of light focused through glass or water) are notoriously slow to render. For our glass carafe, you can disable them by turning off
Refractive Causticsunder theLight Pathspanel. You can often fake the effect with clever lighting if needed.
As Alex Chen, a senior visualization artist I know, often says, “In a professional studio, render time is money. A 10-minute-per-frame render is infinitely more valuable than a 30-minute one if the client can’t tell the difference. Optimization isn’t just a technical skill; it’s a core professional competency.”
Common Eco-Workflow Mistakes to Avoid
- Over-Modeling: Adding polygons to areas no one will ever see. If it’s the bottom of the blender and it’s always on the table, it doesn’t need intricate detail.
- Using 8K Textures Everywhere: Using a massive image texture for a tiny detail like a button icon is overkill. Use procedural techniques or scale your images appropriately.
- Forgetting to Use Adaptive Sampling: This is the modern name for the Noise Threshold feature. Not using it means you’re rendering every pixel for the same amount of time, which is massively inefficient.
- Ignoring Eevee for Previews: Before committing to a final Cycles render, use Blender’s real-time engine, Eevee, to check your lighting, composition, and materials. It gives you an instant preview, allowing you to iterate much faster.
FAQ: Eco-Friendly Blender Workflows
What exactly makes a Blender workflow eco-friendly?
An eco-friendly Blender workflow prioritizes efficiency to reduce computational load. This is achieved through optimized modeling (low-poly with modifiers), procedural texturing to save memory, and smart render settings (like using noise threshold and denoising) to drastically cut down render times and energy consumption.
Is Eevee more eco-friendly than Cycles?
Generally, yes. Eevee is a real-time render engine, meaning it generates images almost instantly. This uses significantly less processing power and time compared to Cycles, a path-tracing engine. For projects where absolute photorealism isn’t the top priority, Eevee is a far more energy-efficient choice.
How do procedural textures help in an eco friendly blender review of my process?
Procedural textures are generated by mathematical formulas instead of being stored as large image files. This makes your .blend file dramatically smaller and, more importantly, consumes significantly less VRAM (your GPU’s memory) during rendering, leading to a smoother and often faster rendering process.
Can these optimized techniques really lower my electricity bill?
Yes, they can. Your computer’s processor (CPU) and graphics card (GPU) are major power consumers, especially under full load during a long render. By cutting render times from, say, one hour down to ten minutes, you are running your hardware at maximum power for a fraction of the time, directly reducing your electricity usage.
Does using a low sample count with a denoiser reduce final image quality?
Not necessarily. Modern denoisers are incredibly intelligent. They are designed to clean up noise from lower-sample renders while preserving sharp details. While an extremely low sample count might result in some lost detail, you can often achieve a visually indistinguishable result from a high-sample render in a fraction of the time.
Conclusion: Build Better, Render Faster
So, our eco friendly blender review has come to a close. We’ve seen that building impressive 3D visuals doesn’t have to be a battle against render times and system resources. By adopting a mindset of efficiency from the very beginning—through clean modeling, smart procedural texturing, and optimized render settings—you can produce professional-grade work more quickly and sustainably. This isn’t just about being kind to the planet; it’s about becoming a more effective, resourceful, and ultimately, a more creative artist. Now, go open Blender and try optimizing one of your own projects. You might be surprised at just how much time you save.