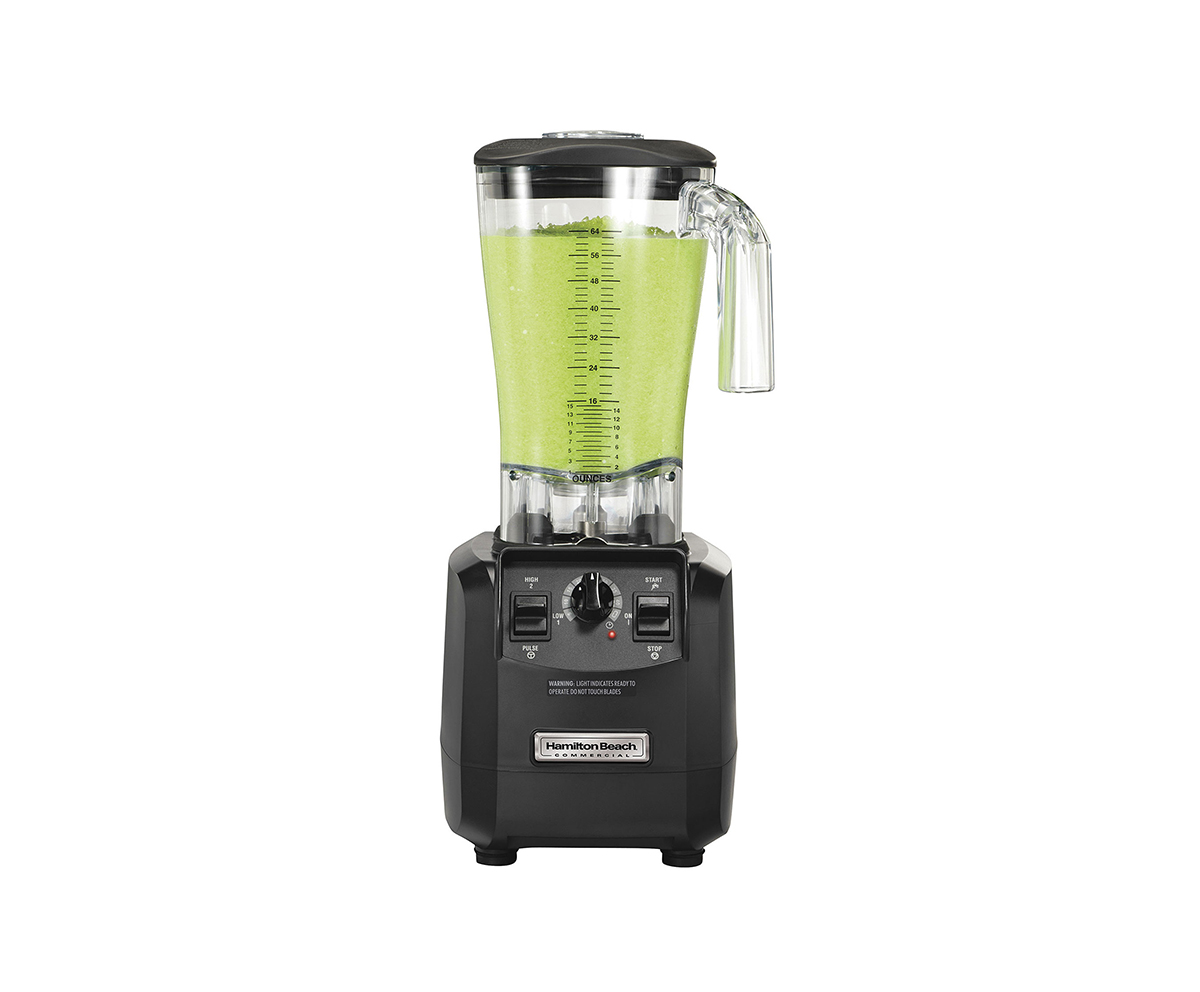
Hey everyone, and welcome back to the Blender Aday channel. It’s your resident 3D mentor, here to walk you through another exciting project. Today, we’re blending the world of 3D art with a splash of healthy living by creating a photorealistic Green Detox Smoothie Blender scene from scratch. You might be wondering, why a smoothie? Well, a project like this is the perfect recipe for mastering some of Blender’s most essential skills: hard-surface modeling, complex liquid shading, and photorealistic lighting. It forces you to tackle challenges like realistic glass, translucent liquids, and organic shapes, all in one compact scene. So, grab your virtual ingredients, and let’s get started.
Why You Should Master This Blender Project
Creating a convincing green detox smoothie blender scene is more than just making a pretty picture. It’s a comprehensive workout for your 3D abilities. When you’re done, you’ll have a much stronger grasp of hard-surface modeling for kitchen appliances, creating believable food materials using Subsurface Scattering, and setting up a studio light environment that makes your render pop. These are core skills that translate directly to product visualization, architectural rendering, and even visual effects.
“Photorealism is found in the imperfections. A project like a smoothie in a blender teaches an artist to see and replicate the subtle details—the condensation on the glass, the tiny air bubbles in the liquid, the slight smudges—that sell the illusion of reality.” – Alex Chen, Senior 3D Artist
This tutorial is designed to be a complete workflow. We’ll go from the default cube to a final, portfolio-worthy render.
How to Create Your Green Detox Smoothie Blender Scene: A Step-by-Step Guide
Ready to dive in? We’ll break this down into manageable steps. For this tutorial, we’ll primarily be using Blender’s Cycles render engine to achieve the most realistic results, especially with glass and liquid materials.
Step 1: Modeling the Blender Jug
The foundation of our scene is the blender itself. We’ll focus on the glass or plastic jug, as it’s the hero of the shot.
- Start with a Cylinder: Delete the default cube (
X) and add a cylinder (Shift + A> Mesh > Cylinder). In the pop-up menu, set the vertices to something like 16 or 24 for a smooth base without being overly dense. - Shape the Jug: Enter Edit Mode (
Tab). Select the top face and scale it up (S) to create the classic tapered blender shape. Use loop cuts (Ctrl + R) to add more geometry and control the curvature. You can select an edge loop (Alt + Click) and scale it to refine the profile. - Create the Spout: To make the pouring spout, select a few vertices at the top edge and pull them outwards using proportional editing (
O). This will create a soft, organic curve. - Add Thickness: A blender jug isn’t paper-thin. In Object Mode, add a Solidify Modifier. This will give the glass realistic thickness, which is crucial for how light will refract through it later. Adjust the Thickness value to your liking.
- Smooth it Out: Add a Subdivision Surface Modifier after the Solidify modifier to smooth out the geometry. Right-click the object and select Shade Smooth. To sharpen key edges, like the top rim and the base, select them in Edit Mode and increase the Mean Crease value (
Shift + E).
Step 2: Crafting the Smoothie Liquid
Now for the star of the show: the green smoothie. This is a separate mesh that will sit inside our jug.
- Duplicate the Interior: In Edit Mode on your jug, select the inner faces. If your Solidify modifier isn’t applied yet, you can simply duplicate the entire jug (
Shift + D), remove the Solidify modifier from the duplicate, and scale it down ever so slightly to fit inside. - Create the Surface: Select the duplicate mesh, go into Edit Mode, and delete the top vertices to create an open container. Select the top edge loop and create a face (
F). - Add a Dynamic Surface: To make the smoothie look like it has just been blended, use the Sculpt Mode to add some subtle waves and peaks to the top surface. The Grab and Inflate brushes work well for this. You can also add a Displace Modifier with a Cloud texture to create some procedural turbulence. This will make your green detox smoothie blender render look much more dynamic.
Step 3: The Secret Ingredient – Node-Based Shading
This is where our scene comes to life. We’ll create two main materials: one for the glass jug and one for the smoothie itself. Navigate to the Shading workspace.
The Glass Material
- Select the jug and create a new material.
- The default Principled BSDF node is perfect. Turn the Transmission value all the way up to 1.0. This tells Blender that light should pass through the object.
- Set the Index of Refraction (IOR) to about 1.45, which is a common value for glass.
- To make it look more realistic, increase the Roughness to a very small value, like 0.05. Perfectly clear glass is rare.
The Green Smoothie Material
This is the most important material. We need it to look thick, translucent, and full of tiny particles.
- Select the smoothie mesh and create a new material.
- In the Principled BSDF node, choose a nice, healthy green color for the Base Color.
- The key setting is Subsurface Scattering (SSS). This simulates light penetrating the surface of an object, scattering around inside, and then exiting. It’s what gives things like skin, wax, and milk their soft look.
- Increase the Subsurface value to around 0.5 to 0.8.
- Set the Subsurface Radius to a color that reflects your smoothie. For a green smoothie, you can use slightly different shades of green or even introduce a hint of yellow or blue in the channels.
- Pick a matching green for the Subsurface Color.
- To add texture, connect a Noise Texture node to a Bump node, and then plug that into the Normal input of the Principled BSDF. This will create tiny surface imperfections, making it look less like plastic.
|
Our Picks for the Best Blender in 2026
As an Amazon Associate, we earn from qualifying purchases.
|
||
| Num | Product | Action |
|---|---|---|
| 1 | Magic Bullet Blender, Small, Silver, 11 Piece Set |

|
| 2 | Ninja Professional Blender 1000W, Total Crushing Technology- Smoothies, Ice Crushing & Frozen Fruit, Full-Size Countertop Blender, 72-oz. Pitcher, Black & Grey, BL610 |
|
| 3 | BLACK+DECKER PowerCrush Multi-Function Blender with 6-Cup Glass Jar, 4 Speed Settings, Silver |
|
| 4 | BlenderBottle Classic V2 Shaker Bottle Perfect for Protein Shakes and Pre Workout, 28-Ounce, Clear/Black |
|
| 5 | nutribullet Personal Blender, Shakes, Smoothies, Food Prep, and Frozen Blending, 24 Ounces, 600 Watt, Gray, NBR-0601WM |
|
| 6 | Ninja Blender, Compact Kitchen System, 1200W, 3 Functions for Smoothies, Dough & Frozen Drinks with Auto-IQ, 72-oz.* Blender Pitcher, 40-oz. Processor Bowl & 18-oz. Single-Serve Cup, Grey, AMZ493BRN |
|
| 7 | BLACK+DECKER 10-Speed Countertop Blender, BL2010BP, 6-Cup Plastic Jar, Dishwasher-Safe, Stainless Steel, Suction Feet |
|
| 8 | Ninja | Blender | Nutri Pro | Single Serve | For Smoothies, Salsa, Shakes and Frozen Drinks | Includes 2 Smoothie Cups & Lids | Crushes Ice, Fruit & Veggies |Silver | BN401 |
|
| 9 | KOIOS Smoothie Blender, 900W Personal Blender for Shakes and Smoothies for Kitchen with 2 No-BPA 22oz Portable Cups, Single Serve Smoothies Maker Mixer for Juices, Nutritious Recipe (Grey Blue) |
|
| 10 | Zulay Kitchen Milk Frother Wand Drink Mixer with AA Duracell Batteries- Durable Handheld Milk Frother Electric Whisk - Easy-Clean Milk Frother Wand & Mini Blender - Electric Coffee Frother - Black |
|
Pro Tips for a Hyper-Realistic Smoothie
Want to push your green detox smoothie blender scene to the next level? Try these advanced techniques.
- Add Condensation: Create a few spheres, give them a simple glass material, and use a particle system or Geometry Nodes on the blender jug to scatter them as water droplets. This adds a sense of a cold drink on a warm day.
- Create Bubbles: Inside your smoothie mesh, add a few small spheres (
Icosphereworks well) and give them a glass material with an IOR of 1.0 (the IOR of air). These will render as trapped air bubbles, a fantastic detail. - Float Some Ingredients: Model some simple spinach leaves or small fruit chunks and place them just below the surface of the smoothie. The SSS effect will make them partially visible, adding immense realism.
Common Mistakes to Avoid When Creating a Blender Smoothie
I see a lot of artists struggle with a few common issues when tackling scenes like this. Here’s how to sidestep them.
- The Smoothie Looks Like Plastic: This is almost always a result of not using Subsurface Scattering. If your material is just a green Principled BSDF with some transmission, it will lack that soft, milky depth. Solution: Increase the Subsurface value and play with the radius colors.
- The Glass Looks Fake: If your glass is perfectly clear and has sharp edges, it breaks the illusion. Solution: Add a tiny amount of roughness, a subtle green tint in the base color, and bevel your sharp edges with a Bevel Modifier or by hand (
Ctrl + B). - Your Render is Too Noisy: Glass and SSS are computationally intensive for Cycles. If your final render is grainy, you need to increase the sample count. Solution: In the Render Properties panel, under Sampling, increase the render samples. Start with 256 and go up from there. Also, make sure the Denoise option is checked.
Practical Applications in 3D
Mastering the creation of a green detox smoothie blender scene isn’t just a fun exercise. It’s a direct gateway to high-paying jobs in product visualization. Companies that sell blenders, kitchenware, or food products need stunning visuals for their websites, advertisements, and social media. The skills you build here—modeling clean manufactured objects, creating appealing food shaders, and professional lighting—are exactly what those clients are looking for.
Frequently Asked Questions
What is the best render engine for a green detox smoothie blender scene?
For ultimate realism, Cycles is the best choice. Its path-tracing engine accurately simulates how light interacts with complex materials like glass and subsurface scattering materials, which are essential for this scene. Eevee can provide a faster preview, but it will struggle to match the quality of Cycles for this specific project.
How do I make the glass look more realistic?
Realism in glass comes from three things: a correct Index of Refraction (IOR) around 1.45, subtle surface imperfections controlled by a low Roughness value (e.g., 0.05), and a slight volume absorption. You can add volume by using a Volume Absorption node connected to the Volume output of the material.
My smoothie looks too dark inside the glass. How can I fix this?
This is a common issue caused by light losing energy as it passes through multiple transparent surfaces. In the Render Properties tab, go to Light Paths > Max Bounces. Increase the Transparent and Transmission bounces. A value of 8 or 12 for each is a good starting point. This allows light to bounce around more before disappearing.
Can I animate the blender mixing the smoothie?
Yes, but it’s an advanced task. It would require using Blender’s fluid simulation system (Mantaflow) to simulate the liquid dynamics and keyframing the motion of blades inside the blender. For a static shot, it’s much easier to sculpt the final “blended” look.
Where can I find good textures or HDRIs for this project?
Websites like Poly Haven offer a fantastic library of free, high-quality HDRIs and textures. For a scene like this, a simple studio HDRI or an indoor kitchen HDRI would provide excellent lighting and reflections.
Conclusion
And there you have it! You’ve successfully navigated the process of creating a complete, photorealistic green detox smoothie blender scene. You’ve tackled hard-surface modeling, tamed the complex Shader Editor to create believable glass and liquid, and learned how to light a scene for maximum impact.
Remember, the goal of a project like this is to build your foundational skills. Every render you create, every node you connect, and every problem you solve makes you a better 3D artist. Now it’s your turn. Experiment with different ingredients, try a strawberry or chocolate smoothie, and play with the lighting. I can’t wait to see what you create. Keep practicing, stay curious, and as always, happy blending.