Hey everyone, welcome to Blender Aday! Let’s talk about something incredibly valuable for any 3D artist: product visualization. Have you ever wondered how companies get those flawless, perfect shots of their products for websites and ads? Many of them are not photos—they’re 3D renders. Today, we’re going to tackle a real-world project from start to finish. We’ll be creating a high-quality render for a common e-commerce item. Imagine a client wants to sell a new appliance, and the target search term for their customer is to Buy Smoothie Blender Under 50 dollars. Our job is to make that affordable blender look like a million bucks. This tutorial will guide you through the modeling, texturing, and rendering process to create a stunning product shot entirely within Blender.
Why is Product Visualization a Killer Skill?
Before we jump into the vertices and nodes, let’s quickly discuss why this is such a critical skill. Product visualization is one of the most commercially viable paths for a 3D artist. E-commerce, advertising, and marketing industries are constantly in need of high-quality imagery that can be customized, animated, and viewed from any angle—something traditional photography struggles with.
Mastering this opens doors to freelance gigs and even full-time studio positions. The techniques we’ll cover for our “buy smoothie blender under 50” project are foundational. Once you understand them, you can apply them to model anything from a wristwatch to a new car.
The Project Brief: Modeling a “Smoothie Blender Under 50”
A successful project always starts with a clear plan. When you get a brief for a product in the “buy smoothie blender under 50” category, the key is to create a clean, appealing model that highlights its best features without overcomplicating the process. We need to be efficient.
Deconstructing the Object
Let’s break the blender down into its basic components. Looking at reference images, you’ll notice it’s just a collection of simple shapes:
- The Base: Essentially a modified cylinder with some buttons and a base plate.
- The Jug: A more complex shape, but it starts as a cylinder that we’ll taper and add a handle and spout to.
- The Lid: A couple of stacked, beveled cylinders.
- The Blades: Small, simple plane extrusions at the bottom of the jug.
By breaking it down like this, the task becomes far less intimidating. This is the core of all 3D modeling—seeing the simple geometric primitives in complex objects.
Setting Up Your Scene
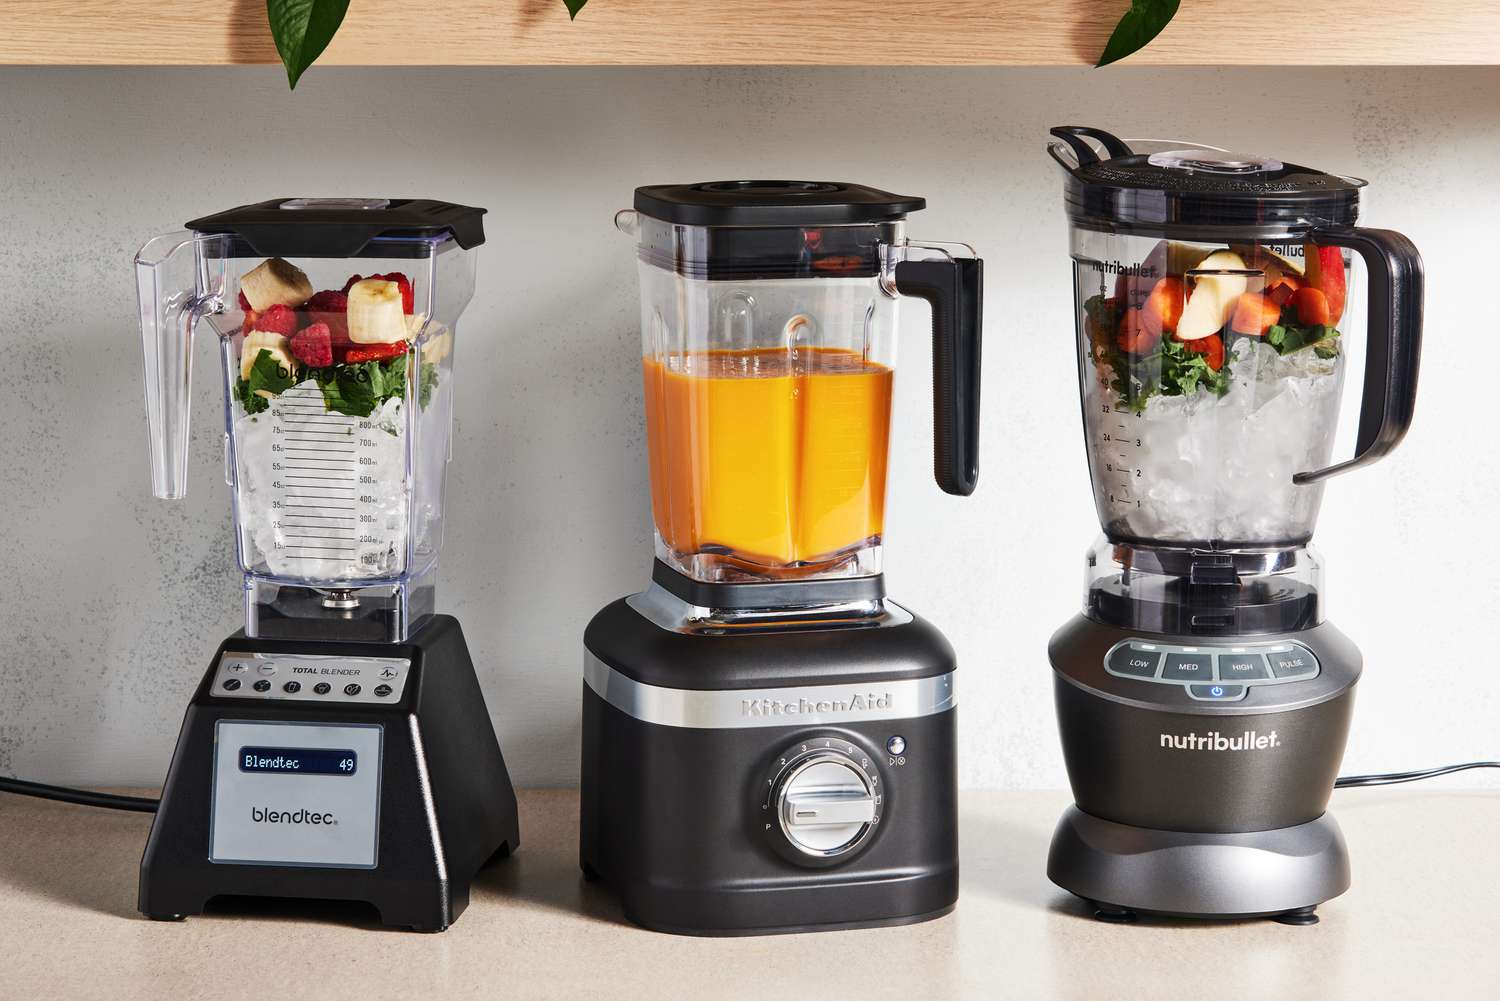
First things first. Fire up Blender and gather some reference images. A quick search for the project’s target, a generic but modern-looking blender, will do. You don’t need blueprints, just a few images from different angles to guide your proportions. Set them up on image planes in your scene for easy reference.
Step-by-Step Modeling Guide
Alright, let’s get our hands dirty. We’ll be using basic modeling tools, so this is perfect for artists at any level.
- Modeling the Base:
- Add a Cylinder (
Shift + A> Mesh > Cylinder). In the pop-up menu, change Vertices to 64 for a smoother base. - In Edit Mode (
Tab), select the top face and scale it down slightly to create a gentle taper. - Use
Ctrl + Rto add a few loop cuts. You can scale these individually to refine the profile of the blender base. - Select the top face, and use
Ito Inset it slightly. Then,Eto Extrude it downwards to create a recess where the jug will sit. - Add a Bevel modifier and a Subdivision Surface modifier to get those clean, soft edges. Remember to add supporting edge loops (
Ctrl + R) near sharp edges to keep them tight.
- Add a Cylinder (
- Creating the Jug:
- This is the most complex part, but still very manageable. Start with another Cylinder.
- Shape it! In Edit Mode, select edge loops and scale them to match your reference. Use Proportional Editing (
O) to create smooth, organic curves for the main body of the jug. - For the handle, select two faces on the side, Inset them together, and then use Bridge Edge Loops (right-click menu) to connect them and form the start of the handle. Extrude and shape it from there.
- Add a Solidify modifier to give the jug thickness. This is crucial for making the glass material look realistic later on.
- Finishing with the Lid and Blades:
- The lid is just a couple of cylinders, extruded and beveled to fit snugly on top of the jug.
- The blades are even simpler. Start with a Plane, extrude a few vertices to create the blade shape, and add a Solidify modifier. Don’t stress too much about the details here, as they won’t be the main focus of the render.
|
Our Picks for the Best Blender in 2025
As an Amazon Associate, we earn from qualifying purchases.
|
||
| Num | Product | Action |
|---|---|---|
| 1 | Ninja Blender, Compact Kitchen System, 1200W, 3 Functions for Smoothies, Dough & Frozen Drinks with Auto-IQ, 72-oz.* Blender Pitcher, 40-oz. Processor Bowl & 18-oz. Single-Serve Cup, Grey, AMZ493BRN |

|
| 2 | BLACK+DECKER PowerCrush Multi-Function Blender with 6-Cup Glass Jar, 4 Speed Settings, Silver |
|
| 3 | BlenderBottle Classic V2 Shaker Bottle Perfect for Protein Shakes and Pre Workout, 28-Ounce, Clear/Black |
|
| 4 | Magic Bullet Blender, Small, Silver, 11 Piece Set |
|
| 5 | BLACK+DECKER 10-Speed Countertop Blender, BL2010BP, 6-Cup Plastic Jar, Dishwasher-Safe, Stainless Steel, Suction Feet |
|
| 6 | KOIOS Smoothie Blender, 900W Personal Blender for Shakes and Smoothies for Kitchen with 2 No-BPA 22oz Portable Cups, Single Serve Smoothies Maker Mixer for Juices, Nutritious Recipe (Grey Blue) |
|
| 7 | Zulay Kitchen Milk Frother Wand Drink Mixer with AA Duracell Batteries- Durable Handheld Milk Frother Electric Whisk - Easy-Clean Milk Frother Wand & Mini Blender - Electric Coffee Frother - Black |
|
| 8 | Ninja | Blender | Nutri Pro | Single Serve | For Smoothies, Salsa, Shakes and Frozen Drinks | Includes 2 Smoothie Cups & Lids | Crushes Ice, Fruit & Veggies |Silver | BN401 |
|
| 9 | Ninja Professional Blender 1000W, Total Crushing Technology- Smoothies, Ice Crushing & Frozen Fruit, Full-Size Countertop Blender, 72-oz. Pitcher, Black & Grey, BL610 |
|
| 10 | nutribullet Personal Blender, Shakes, Smoothies, Food Prep, and Frozen Blending, 24 Ounces, 600 Watt, Gray, NBR-0601WM |
|
Getting the model right is the foundation for any great render. Even for a hypothetical “buy smoothie blender under 50” product, a clean and well-built model is non-negotiable.
The Art of Materials and Texturing
This is where the magic really happens. A decent model with incredible materials will always look better than a perfect model with bad materials. We’ll be using Blender’s powerful node-based system in the Shader Editor.
What is PBR Texturing?
PBR stands for Physically-Based Rendering. It’s a method for creating materials that react to light in a way that’s consistent with the real world. Blender’s Principled BSDF node is the heart of this workflow, and it makes creating realistic materials surprisingly intuitive. It has all the sliders you need—like Roughness, Metallic, and Transmission—to create almost any material imaginable.
Creating Realistic Plastic, Glass, and Metal
- Plastic Base: For the blender’s main body, use the Principled BSDF node. The key is the Roughness value. Most plastics aren’t perfectly glossy. Start with a base color (like a light grey) and set the Roughness to around
0.4. A perfectly smooth surface is a dead giveaway of a CG render. - Glass Jug: Select the jug model. On its Principled BSDF node, turn the Transmission all the way up to
1.0. This tells Blender that light should pass through it. Also, lower the Roughness to something like0.05to0.1for a clear, slightly imperfect glass look. The IOR (Index of Refraction) for glass is1.450—setting this correctly is vital for realism. - Metal Blades: For the blades, simply turn the Metallic slider on the Principled BSDF all the way up to
1.0. Adjust the Roughness to control how polished the metal looks. A value of0.2often works well for a brushed stainless steel effect.
In my projects, I often find that adding a subtle noise texture and plugging it into the Roughness input via a ColorRamp node makes a world of difference. It breaks up the perfectly uniform reflections and adds a layer of realism that’s hard to achieve otherwise.
Pro Tips for Lighting Your Smoothie Blender
How you light your model is just as important as the model itself. For product shots, we want clean, deliberate lighting that accentuates the form of the object.
A classic three-point lighting setup is a fantastic starting point:
- Key Light: Your main light source, placed to one side to create highlights and shadows.
- Fill Light: A softer, less intense light on the opposite side to “fill in” the dark shadows and reveal detail.
- Rim Light: A light placed behind the object to create a bright outline, separating it from the background and giving it that “professional studio” look.
I also highly recommend using an HDRI (High Dynamic Range Image) for environment lighting. It provides realistic ambient light and beautiful, complex reflections on your model’s surface, especially on the glass and plastic.
Common Mistakes When Rendering Products to Avoid
When your task is to create a visual for a product a consumer wants to buy smoothie blender under 50 for, avoiding common pitfalls is key to a successful image.
- Perfectly Sharp Edges: Nothing in the real world has a perfectly sharp 90-degree edge. Always use a Bevel modifier or manually beveled edges to catch highlights and look more realistic.
- Unrealistic Materials: Avoid pure black or pure white colors. Don’t leave Roughness at the default. As mentioned, even a brand new product you would buy smoothie blender under 50 for has microscopic surface imperfections that affect how it reflects light.
- Flat Lighting: Don’t be afraid of shadows! Contrast is what gives an object form and depth. A single, flat light source will make your render look uninteresting and “fake.”
Cycles vs. Eevee for This Project
A common question is which render engine to use. Both are fantastic, but they serve different purposes.
| Feature | Eevee | Cycles |
|---|---|---|
| Speed | Real-time, extremely fast | Path-traced, much slower |
| Realism | Very good, but requires some tricks | Photorealistic, physically accurate |
| Glass/Refraction | Good, but can be complex to set up | Excellent, handles it automatically |
For a final shot like this, Cycles is the way to go. The way it calculates light, especially with glass and subtle shadows, will give you that photorealistic quality clients are looking for. Use Eevee for look development and scene setup, then switch to Cycles for the final render.
Frequently Asked Questions
Q: How long does it take to model a product like this?
A: For an experienced artist, a model like this could take 1-2 hours. For a beginner following this guide, setting aside 3-4 hours would be a good estimate to get a polished result without rushing.
Q: What is the most important part of making a product look real?
A: Lighting and materials, without a doubt. A simple model can look photorealistic with expert-level lighting and texturing, while a highly detailed model can look fake if lit poorly.
Q: Can I use these product visualization techniques for other objects?
A: Absolutely! The workflow—reference, modeling simple shapes, PBR materials, and three-point lighting—is a universal process for almost any product visualization project in Blender.
Q: Do I need to buy any assets to create a good render?
A: Not at all. Everything in this tutorial can be accomplished with the tools built directly into Blender. Free HDRIs are widely available online from sites like Poly Haven.
Q: Why is clean topology important for a product model?
A: Clean topology (the flow of your vertices and edges) ensures that modifiers like Subdivision Surface work correctly, and that shading appears smooth without weird artifacts or pinching. It’s the foundation of a professional-looking model.
Conclusion
And there you have it! We’ve gone from a simple cube to a professional-grade product render. You’ve learned how to deconstruct an object, model it efficiently, create realistic PBR materials, and light it like a pro in a studio. The ability to take a concept, like the need to create a visual for people who want to buy smoothie blender under 50, and turn it into a compelling image is an incredibly powerful skill.
Don’t stop here. Practice these techniques. Grab another object from your desk or kitchen and try to model it. The more you do it, the more intuitive the process will become. We can’t wait to see what you create.